By this post, you can easily understand how the cutting and stitch of neck patterns are done. Just pass through only a few hundred words of this post and you can effectively be able to cut and teach your neck pattern and it will clear your basics at the same time.
If you are directly making simple neck from your kurti –
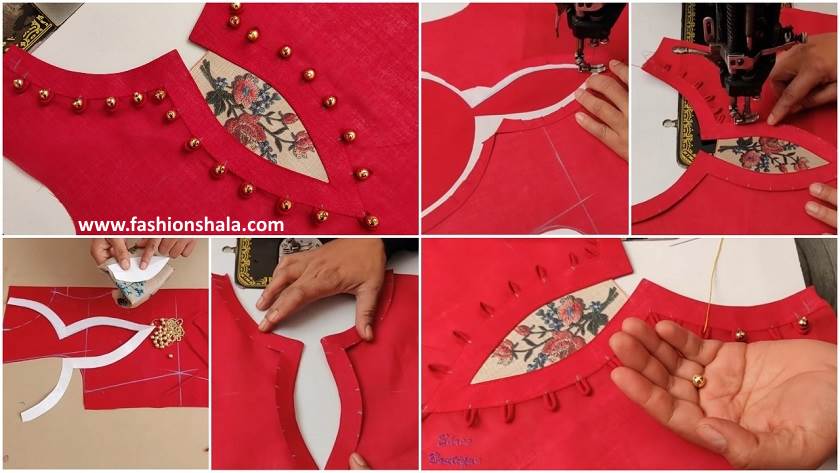
- After making any simple neck pattern i.e. u, v, square or heart, cut the design of the neck on the marked line / curves.
- If this u shep is neck, you can cut 1.5 inch baus tape in width and add your neck, then mark small cuts and move the baus tape to the wrong side. Turn and heming bias tape.
- If it belongs to any other size (except u-shaped neck), you take part of the design of the neck cut off with kurti cloth, keep it on other left clothes and mark with design. Then Mark another line 1.5 inches away parallel to the previous design line, and then cut the interior and exterior marked lines. By doing this, you will have the clothes necessary for the neck pattern. Now right to match the kurti points and cut the neck design (with leftover clothes), then seal it with the neck and then the small cut. Take it to the wrong side and heming it.
- The neck is ready in front of you.
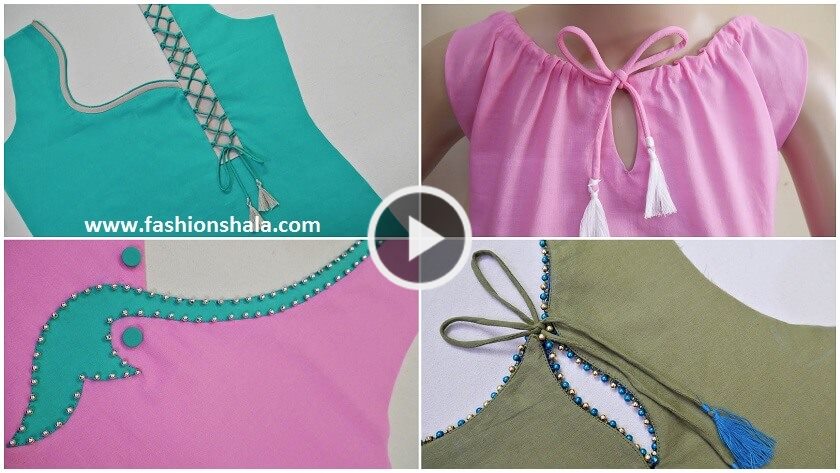
Stylish Neck Design Cutting & Stitching Tutorial
You’ll also like:
- 15 Latest and Stylish Saree Blouse Back Neck Designs
- Kurti Neck Design Making in Very Easy Way
- Easy blouse back neck design cutting and stitching
- Exclusive Stylish Blouse Back Neck Designs
- Stylish and Trendy Blouse Back Neck Designs
Leave a Reply